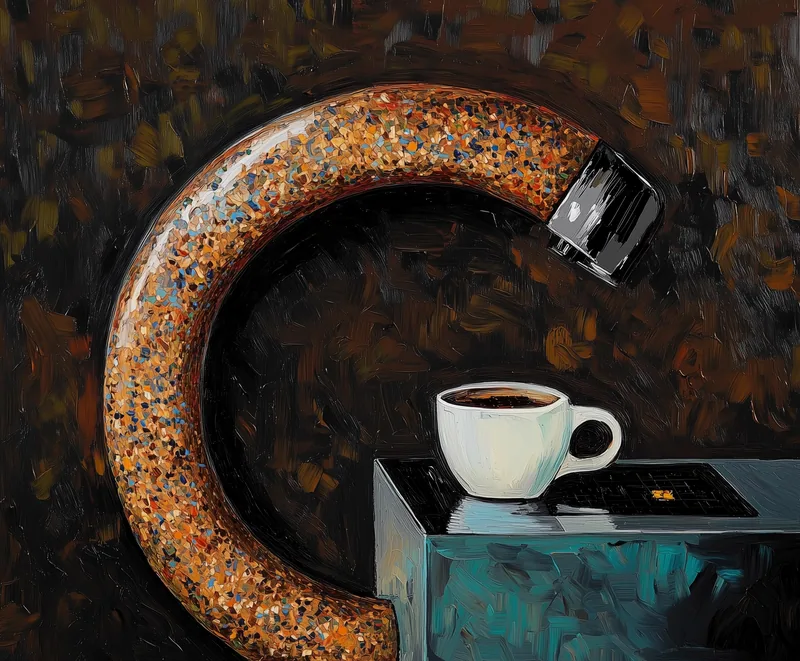
A coffee machine for offices
This project began in 2019 when I set out to design an innovative coffee machine for offices with a focus on app-based interaction for better hygiene, an idea conceived months before the global pandemic. I redesigned the machine’s aesthetics, internal components, and maintenance process. It's was an industrial design project.
Now, I’m revisiting the project to improve the app’s user experience, using the Design Thinking process to create solutions that address real user needs. This page details the steps I’m taking to develop a new app for the coffee machine.
In 2019, the project focused on industrial design with the goal of breaking away from traditional vending machine aesthetics. The design approach centered on three key areas: removing physical buttons and touchscreens to change user interaction, digitizing the product and its ecosystem, and simplifying the machine's shape to highlight the essence of the coffee maker. Designed for office use, the interaction (selecting and paying for drinks) is handled entirely through users' phones.
The process is streamlined into three steps: selecting coffee on the phone, holding the phone near the machine to transmit data and authorize delivery, and placing the cup in the machine. Users can also personalize their coffee with two available blends, thanks to Fluid-O-Tec technologies.
(3d model made with Inventor and render made with KeyShot)
The concept includes custom furniture design tailored to the client’s needs and office space. This product goes beyond just coffee machine functions; it also incorporates all interacting components. The internal parts are designed to adapt to the available space, simplifying maintenance and improving access to routine service points. Operators can adjust settings and run cleaning programs via smartphone or remotely using Wi-Fi.
The project also includes additional items like glasses, cups, and thermoses to complete the machine's functionality. The bottles, utilizing battery-free transponders (in development by Wiliot), also tracks drink consumption and gathers ecological data to reduce single-use plastic.
2022 - The Design Thinking process
Phase 1: Empathize
The goal is to understand users’ needs and how users think and feel.Get a clear picture of who my users are and the challenges they face.
Integrating research into the design process
I began by revisiting the extensive foundational research conducted in 2019, which covered coffee, the industry, and all relevant stakeholders. This research aimed to understand and empathize with the existing user base to improve the product. I created empathy maps for different users, and now I'll share one of these aggregated maps to represent a group of users with similar perspectives.
These maps helped identify pain points and potential solutions. Building on the insights gained from this research, I developed personas and crafted user stories based on their experiences with similar products.
After creating the personas and stories, I developed user journey maps to document the entire sequence of events and interactions a user experiences, including their interaction with the coffee machine. These maps also helped uncover new pain points.
Phase 2: Define
In the define phase, I created a clear problem statement for drive me toward a clear goal for design of the product.
Defining problems and hypothesis statements
To begin addressing the design problem, I synthesized all the insights gathered during the empathize stage. I started by crafting problem statements that outline the users' needs that must be addressed. To tackle these issues, I formulated hypotheses about potential design solutions. Below is an example of problem and hypothesis statements for my personas.
What does my product do? And why should the user care?
I began by considering how my product meets user needs and why consumers would choose this coffee machine. I then created a list of all its features and benefits, along with those of the accompanying app.
Phase 3: Ideate
Once I identified a user problem and understood its importance, I moved into the ideation phase. The goal here was to generate as many design solutions as possible.
Recognizing Business Needs and Market Gaps
To inform the design process, I researched the product's competitors, analyzing both direct and indirect competitors' strengths and weaknesses. For this competitive audit, I selected the most notable machines on the market, comparing vending and coffee machines based on both their physical (machine) and digital (app) experiences.
Gaps & opportunities
- Lack of customization in competitor products: Competitor products don’t offer custom designs. I can create a customizable product for offices, offering different materials, colors, and sizes to meet customer needs.
- Limited health-conscious features: Competitor products don’t prioritize health-conscious options. The app could provide personalized health advice based on user consumption data, such as suggesting a reduction in caffeine intake if too much coffee is consumed.
- Need for a clear and intuitive maintenance process: The maintenance process must be straightforward and easy to follow. Simplify the entire process and provide clear instructions within the app, including a troubleshooting section to reduce the need for assistance calls.
- Environmental impact overlooked by competitors: Competitor products don’t focus on environmental sustainability. I can address this by designing the machine to encourage the use of eco-friendly products and discourage disposable plastic use, creating a more environmentally conscious product.
Brainstorming ideas for the app
These opportunities are valuable for addressing most of the identified problems. For this application, I chose to focus on one specific user problem highlighted in the define phase and design a solution. This involves transitioning from understanding the users' challenges to setting a clear goal.
Next, I mapped out how users would achieve this goal as they navigate through the app. I created a user flow to visualize how Marta, for example, can complete a task (like getting a coffee) from start to finish. To outline the ideal flow, I sketched storyboards depicting this process.
Organizing the Information
The information in my design needs to be clearly organized, starting with an initial Information Architecture. This ensures a logical organization, hierarchy, and sequence, allowing users to smoothly navigate the app.
Wireframing
It's time to establish the basic structure of a page and highlight the function of each element. Below is an example of the wireframing process for one screen: the home page.
Phase 4: Prototype
With a clear idea of how to solve the problem, I’m ready to move into the prototype phase. It's time to create an early model that demonstrates the product's functionality.
From Wireframes to Low-Fidelity Prototype
To showcase the app's functionality, I developed a low-fidelity prototype. This allows users to interact with a prototype and provide valuable feedback for improving the app. I created the main flow of the app in Figma.
Phase 5: Test
Users provide feedback on the design before the product is finalized and launched. I use this feedback to make necessary changes and enhancements to the app.
Research study
To test the prototype, I need to conduct research, starting with planning the study.
The following slide outlines the research process in three steps: conducting usability studies, analyzing the results, and synthesizing the findings.
Refining the design with new insights
I updated the wireframes and prototype based on the insights gained during the usability study.
The next steps involve the app's user interface, starting with wireframes and progressing to the creation of a high-fidelity mockup.